|
|
|
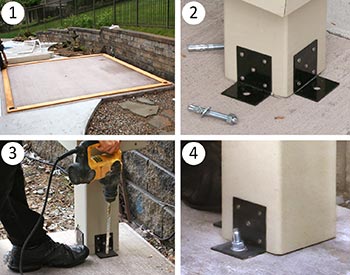
Steps for mounting posts when "No Deck" option is chosen.
|
|
|
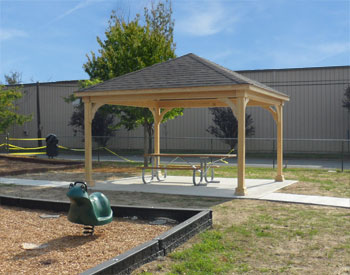
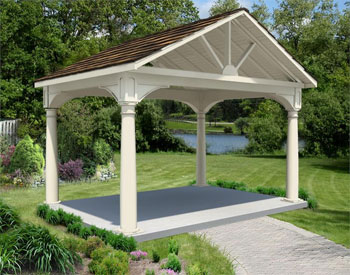
12' x 12' Treated Pine Ramada shown with 6x6 Posts, Standard Beams, Cupola, Charcoal Gray Asphalt Shingles, and Customer Supplied Stain.
|
|
|
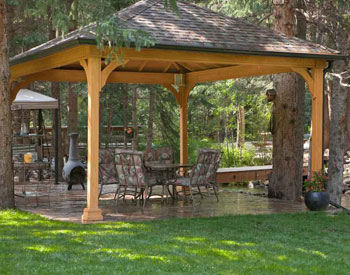
14' x 18' Treated Pine Ramada shown with 6x6 Posts, Standard Beams, 6" taller posts and aged redwood asphalt shingles
|
|
|
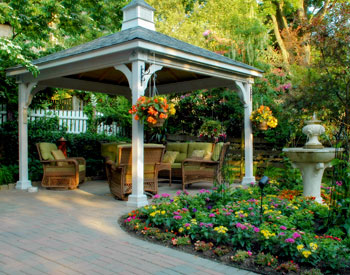
16' x 20' Cedar Ramada shown with 6x6 Posts, Standard Beams, No Deck, 16" Post Trim, 6x6 Posts, Dual Brown Asphalt Shingles, No Cupola, Hidden Wiring with 1 Receptacle & Switch, and Clear Stain Sealer
|
|
|
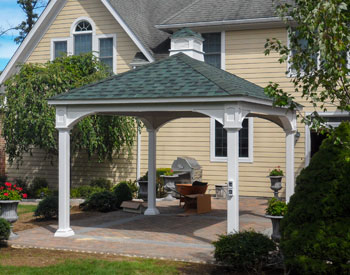
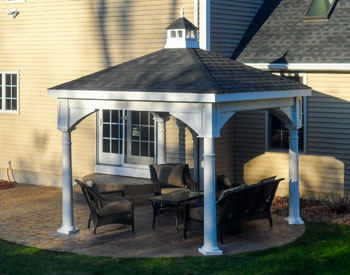
12' x 14' Vinyl Ramada shown with No Deck, 6" Taller Posts w/ 6" High Post Trim, Cupola, Forest Green Asphalt Shingles, and Hidden Wiring w/ 1 Receptacle and Switch.
|
|
|
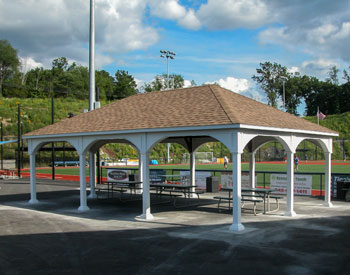
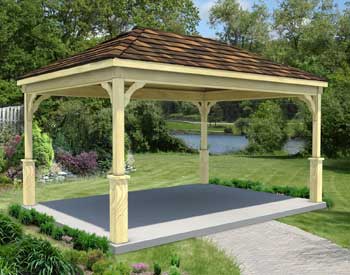
14' x 14' Treated Pine Ramada shown with 6x6 Posts, Standard Beams, No Deck, 6" High Post Trim, No Cupola, Standard Post Height, and Aged Redwood Asphalt Shingles
|
|
|
20x32 Vinyl Ramada shown with No Deck, and Earthtone Cedar Asphalt Shingles
|
|
|
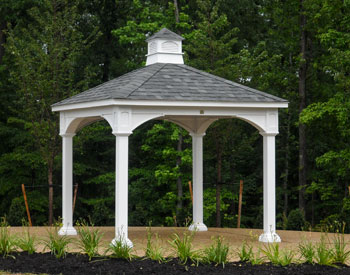
10' x 10' Vinyl Ramada shown with No Deck, 6" Post Trim, Cupola, and Harvard Slate Shingles.
|
|
|
10' x 20' Treated Pine Ramada shown with National Blue Asphalt Shingles, Cupola, River Birch Stain, No Deck, and 36" High Post Trim.
|
|
|
10' x 14' Vinyl Long Gable Ramada shown with Almond Vinyl, cedar Shake Shingles, No Deck, and 10" Round Columns
|
|
|
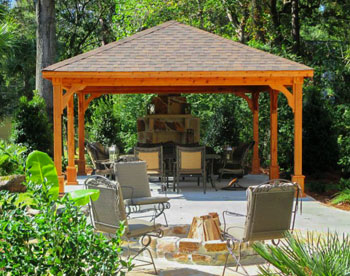
12' x 16' Cedar Ramada with Cedar Shake Shingles and 36" High Post Trim.
|
|
|
|
|
If attaching to an existing floor, deck, concrete slab, or patio, please be sure that the posts will rest on an adequate base to support the weight of the structure. We make it easy to determine the location of the posts and to attach them to the base with our post template and custom brackets. These are supplied when a structure is ordered without a deck. Please be sure to discuss your particular details with your Project Adviser, before pouring any concrete or building your deck, if at all possible.
Photo 1: The wooden template is laid out at the structure's proposed location. Simply match up the numbers on the template, then measure from corner to corner across the template to ensure that it's square. This is the same process for any structure shape. Marking the locations of the holes in the template will provide the locations of the posts.
Photo 2 & 3: Simply attach our custom bracket, either with lag bolts into wood or concrete anchors, and bolts into concrete (connectors not shown as each connection will be different).
Photo 4: The post will fit inside the brackets and be attached with the supplied screws. The unique design of the brackets allows for a finish trim to be added to hide the brackets.
|